Create a New Convention - Copy Previous Convention
Summary
An organization administrator role may have one to many different conventions to manage. There are many settings and configurations that go into each convention, i.e., events, event configurations, event award days, etc. A feature of the junior convention registration program copies a convention from one year to the next, leaving the convention administrator making limited changes to dates, event modifications, judge forms, etc.
The copy method brings over the following items into the new convention from the previous convention:
- Convention Event List (All flag settings set to 0, or red "X")
- Configuration Settings
- Financial Settings
Settings in the Org Admin master tables are used for all conventions.
Step 1 - Clear Old Convention to Copy
A previous convention is still accessible by the school administrators until it is cleared. Clearing a convention simply means disabling the schools from logging in and viewing the previous convention's data. This prevents confusion when they try to log into an old convention and attempt to register for a new one. Each convention is a separate school and student registration process.
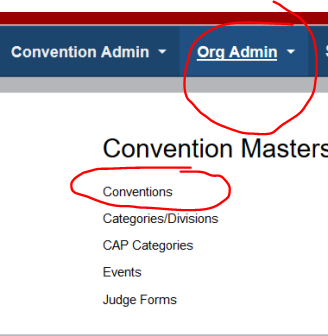
To clear the convention, roll the mouse over the Org Admin menu and select the Organization Name from the dropdown list. Once selected, the Org Admin menu will display with its submenus. Select Conventions from the Org Admin menu, and the list of conventions will display.
NOTE: The Organization Management dropdown list in the menu bar does not function properly in the FireFox® browser. To overcome this challenge, simply click on the Org Admin menu link to display the dropdown menu in the main browser window.
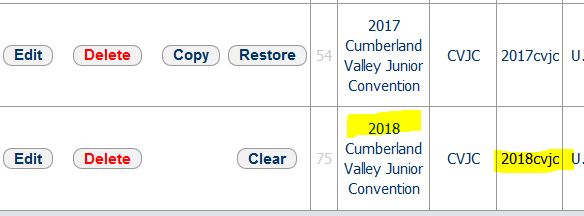
Next, identify the convention to copy into the new year. Once identified, the convention needs to be in the cleared state. If the convention still has the Clear button displayed to the left of the convention name, click it to set the convention in a state so that schools will no longer be able to access the previous convention. Once cleared, two buttons will replace the Clear button, Copy and Restore. If you clicked the wrong convention to clear, simply click the Restore button, and the convention will return to a state where it will be accessible by the schools.
![]()
Step 2 - Make any Necessary Changes to Master Data
From year to year, decisions may be made to add events, modify event settings, judge forms, etc. The best time to make the changes with minimal impact to future conventions is to make those changes in the organizational master tables. These include:
- Events
- Judge Forms
- Categories/Divisions
- CAP Categories
All of these settings are changed in the Org Admin menu. While the last two items rarely need to be changed after the initial convention, the first two items may need to reviewed by the convention leadership and adjusted as necessary.
Step 3 - Copy the Convention
To copy the convention, return to the Org Admin -> Conventions menu and click the Copy button to the left of the previous convention to copy, and the edit form will display. Be sure to follow the same format as the previous convention, only changing the year, dates, and any other necessary information to change.

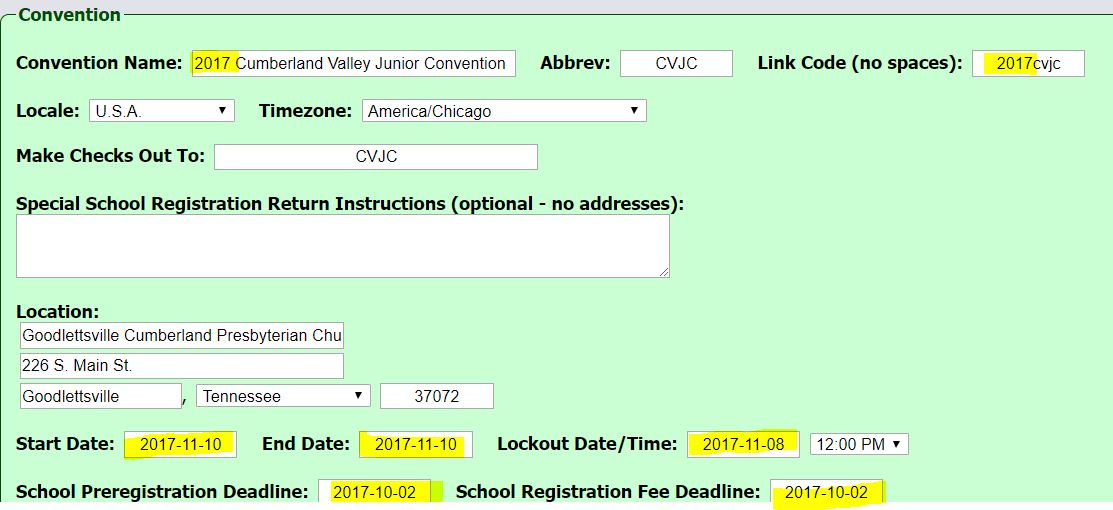
Once changes are made, then click the Add button at the below the convention edit form to run the validation of the form fields and save the new convention. Once saved, the edit form will go away, and a new convention will display at the bottom of the convention list. Review the information to verify it is correct. The convention may be edited at any time to meet the needs of schedule changes, venue changes, etc. To edit the convention, click the Edit button to the left of the convention name, and the same edit form will display so the changes can be made. After necessary changes are made, click the Save button below the edit form to update the convention information.
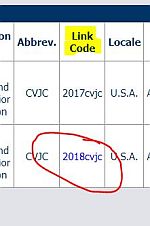
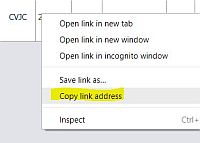
A new link will also be displayed in the Link Code column of the new convention. This is the link that will be used by all the schools to register for this convention. To capture the link URL, right click on the link, and copy the link URL according to your browser's procedure (for FireFox®, use "Copy Link Location"; for Chrome™, use "Copy Link Address"). The link can then be copied to convention documentation to share with the schools.
NOTE: DO NOT click on the registration Link Code while logged into the convention administration site as this will conflict with your browser session. If a new registration is to be entered, be sure to log out of the administration side of the convention before proceeding to the new school registration link.
Step 4 - Modify Convention Settings
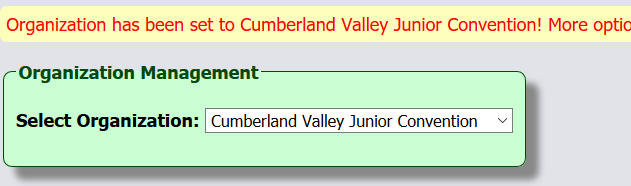
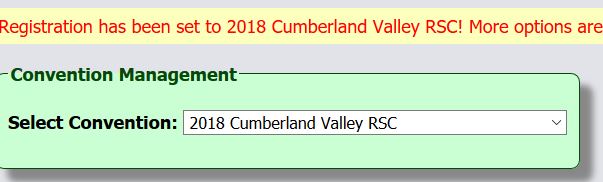
Once the convention has been added, copies of the convention master data has been made to the new convention. The convention configurations and settings will need to be reviewed and modified. To make changes to the convention, CLICK ON THE Convention Admin MENU LINK to refresh the convention dropdown list. Once the page refreshes, use the dropdown field to select the new convention. An alert message confirms registration has been set to the new convention.
NOTE: The Convention Management dropdown list in the menu bar does not function properly in the FireFox® browser. To overcome this challenge, simply click on the Convention Admin menu link to display the dropdown menu in the main browser window.
Once the convention has been set, Use the Convention Admin menu items to modify the current convention as necessary.
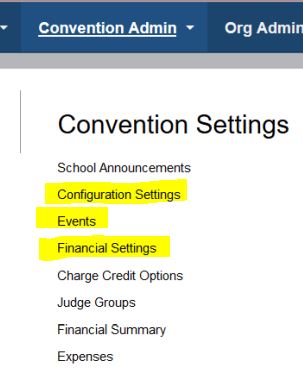
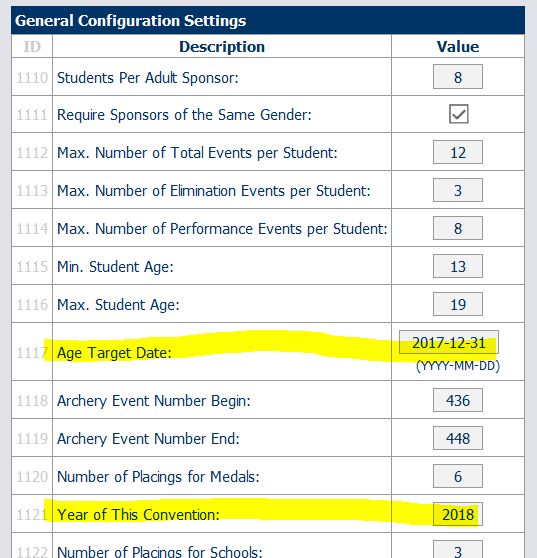
Configuration Settings
The Configuration Settings copies the convention information from the previous convention. Make sure the Age Target Date and the Year of This Convention fields are updated. The copy action should auto increment the years in those two fields. The rest of the field values should also be reviewed appropriately.
Events
The Convention Event Settings are a copy of the master events table located in the Org Admin -> Events menu. However, the event configurations here are specific to this convention, such as what day is each event awarded (for multiple day events), which events are going to be used for electronic judging, etc. More about this page will be topic of another article.

Financial Settings
The Financial Settings are a copy of those from the previous convention. The assigned fees and credits will need to be reviewed to make sure they are up to date. If the registration and other fees have not changed, then no changes are necessary.
Conclusion
The above items are the bare-bones convention settings, so to speak, and prepares the convention for school registration. From here, the normal administration operations of the convention is managed as the previous conventions.
Please list any questions or comments on this article to support@mrpensolutions.com. This article will be updated as needed.